Feathers, Flight & Finding Kipp

Focus: Motion Design, 
Storytelling

Software: Adobe After Effects, Illustrator, Premiere Pro

Team: In collaboration with Julia Anderson, Hana Barkah & Eva Toon.

How Can We Find Solutions and Provocations That Have the Potential To Spark Action and Create Genuine Impact?

Scene from Feathers, Flight & Finding Kipp Animation

The Challenge

To immerse ourselves in motion design, we explored the creative possibilities of motion and sound to convey a specific mood and atmosphere that resonated with our animation's primary audience. This process involved expanding our digital skills in After Effects and Premiere Pro, as well as developing our soft skills in ideation and storytelling.

Our animation focuses on education and learning, one of the themes from Creative Conscience. In our video, we aimed to explore topics such as belonging, self-discovery, and embracing differences.

The Wonder Company website
Where the animation will be seen on the Wonder Company website

The Process

Initially, we began researching organisations that address the ‘challenge’ we identified. From our findings, we chose to explore four organisations: Young Minds, Kidscape, Bullies Out, and The Wonder Company. We found that Young Minds, Kidscape, and Bullies Out primarily focus on raising awareness of children’s mental health and providing support for individuals. In contrast, what stood out to us about The Wonder Company was its emphasis on fostering children’s imagination, engagement, and overall well-being, aligning more closely with our message of self-discovery and belonging.

Primary target audience
Secondary target audience

Target Audience

We intended for our animation to have two target audiences: a primary and a secondary audience. The primary target audience is children in Key Stage 1 of primary school (reception to year 2), meaning they are between the ages of 4 and 7 years old. Our initial aim for the story was to reflect the look of paper, creating a fun, kid-friendly, and tactile feel similar to something they could make themselves. We intended for this animation to be shown annually during Anti-Bullying Week in primary schools.

Additionally, we included a secondary target audience: the parents of the children watching the animation. This is aimed at parents who want to be aware of what their children are watching and appreciate stories with a deeper meaning.

Scratching on film
Scratching on film workshop & a compilation of some of my peers' scenes from scratching on film (spot my monkey)
Flipbook
Storyboard

Experimentation

As an introduction to animation and to build our confidence in movement, we started with traditional animation, beginning with the exercise of drawing a bouncing ball using a flipbook. From this, I learned how different weights and materials affect spacing and timing and I carried this knowledge throughout the project.

Another exercise we were tasked with was to draw each cut/scene change in the video we were shown, essentially creating a quick storyboard based on the video. The cuts between each shot gradually got faster, which is reflected in my sketches as they became less detailed and more rushed. My takeaway from this exercise was that the storyboards we create don’t need to be perfect, and we shouldn't be precious about them. What's important is exploring different scenes or camera angles to keep our audience engaged and ensuring we understand the baseline of the story.

How Can We Portray Our Message?

Storyboard for Cactus Story
Character Designs

My Initial Storyboard & Character Designs

When we first started exploring the storyline and message of our animation, we each went away and created our own interpretations based on the points we highlighted that we wanted to cover in our storyboards. The main notes we wanted to address were solving the problem without directly showing it. In the example videos we researched for Anti-Bullying Week, the problem was shown, followed by the solution right at the end, which gave the video a sombre feel throughout. While this approach makes sense for such a sensitive subject, we wanted our video to focus more on building self-esteem and finding one’s sense of self as a way to combat bullying or feeling different from others. The main premise we focused on was that the main character would go through changes and meet different people to see how they could fit in, but in the end, they would realise that they just needed to stay true to who they are and figure out what makes them unique. In my interpretation, I created a character who is a cactus that goes through the journey of trying to fit in with the other plants, whether that’s through appearance, confidence, or just being himself.

How Can We Build On Each Other's Ideas?

Mood Board
Mood board for our developed idea

Development

Mood Board

After discussing all of our ideas and storyboards, we tried to combine aspects we liked from each story to develop a new one. We decided our main character would be a kiwi bird living in the rainforest with other, more colourful tropical birds. This idea stemmed from Julia’s storyboard, which featured birds as the main characters, as we thought this would give us more flexibility in creating diverse characters. We also added elements from my idea, including similar changes the character goes through.

Storyboard for initial idea
Storyboard sketch by Julia
Storyboard for initial idea

Initial Storyboard

When creating our initial storyboard the method that worked best for us was sharing our ideas while Julia roughly sketched the storyboard order as we explained how we envisioned each scene, such as where the camera would zoom in and what the background and characters would look like.

Scene made from paper
Experimental scene I made from paper
Character designs
My character designs
Coloured storyboard for initial idea

Coloured Storyboard

Building on the initial storyboard, I created a more detailed illustration to help us visualise how our animation might look and to explore any questions we had, such as whether to add a border around the scene. This was also necessary because, at this point, we weren’t sure whether we would include text or subtitles on the screen, reflecting the look of a storybook.

Storyboarding
Storyboarding

Refining Our Storyboard

After receiving feedback from our tutors during the interim crit and discussing it with Ben and Tim, we decided to revisit our initial storyboard. We refined and added more scenes to our animation to make it feel more like a storybook turned digital. This also helped clarify the story, as the ending was a bit confusing, the 'problem' was suddenly resolved without a clear explanation of why.

Developed storyboard
My developed coloured storyboard *the scenes I later animated in After Effects are highlighted in red*

Developed Coloured Storyboard

Similar to how I created the coloured storyboard from our original sketches, I did the same with our refined storyboard. By adding colour, we could see how to add more dimension to our scenes, maintain consistency, and explore how the background colour might change. This was also beneficial when it came time to animate, as it ensured we all shared the same vision for how it would look, keeping the style and illustration consistent.

Animatic

Furthermore, our animatic helped bring our story to life by adding sound and roughly determining the timing for each scene. This was beneficial both for our viewers and for ourselves, as it ensured we were all on the same page. Before this project, I had never heard of an animatic, even though I had created animations in the past. I found it incredibly helpful in understanding how our story flowed.

The Final Outcome

After creating our animatic, we began animating our individual scenes in After Effects. This required us to design and create Illustrator files for each character, background, and asset, as well as finalise the colours that best suited our target audience while maintaining an upbeat and playful feel for our video.

What Steps Did We Take to Create Our Final Animation?

Kiwi Walking
Kiwi Rolling

Experimenting in After Effects

While creating our animatic, I also experimented with After Effects to visualise how our storyboard could come to life and to determine whether our scenes were feasible. My focus was on how our kiwi would move, particularly in the scenes where he walks and rolls. When animating his walking, I initially found it difficult to visualise his movements, as birds’ legs bend in the opposite direction to humans'. Since my previous experience with animating movement was primarily with people, this posed a challenge. To better understand how a kiwi moves, I watched reference videos and analysed how human knees bend, applying that knowledge in reverse for the kiwi.

For the rolling animation, I realised we should probably make his body rounder, as his current semicircular shape made it more awkward to animate. While working on this animation, I referred back to my notes from our flipbook workshop, as I had to consider how the kiwi’s weight would affect his movement downhill.

Choosing Our Sound Effects

When choosing our audio and sound effects, we wanted to maintain an upbeat feel and make the animation more personable. This is why Julia voiced our kiwi, adding the little hums he makes. To create a more immersive experience, we included a constant, faint background sound of birds and other sounds heard in nature. When the camera pans up to the other birds, bursts of samba music begin to play. We chose this music to represent the birds having fun, as it feels vibrant and lively. Additionally, using this repetitive sound helps convey emotion.

Colour palette
Main colour palette
Characters
Characters using the main colour palette

Colours & Characters

Since our animation’s primary target audience is young children, we wanted the video to feature vibrant and fun imagery. We achieved this through the use of colour, character design, and scenery. As a team, we focused on selecting colours for the background elements, such as trees, grass, and the sky, as well as for the birds, e.g. we chose brown for the kiwi, blue for the macaw, and red and pink for the parrots. Above, you can see the main colours we selected for the characters and assets, such as bushes, feathers, and other details.

I created these characters in Adobe Illustrator, ensuring that each element was on a separate layer to make animation easier e.g. the head, wings, body, and feet were all placed on individual layers, allowing for smoother movement. This also helped us replicate the look of paper-based animation, as everything is in 2D. For instance, the wings on the white cockatoo simply cut from one frame to the next (moving up and then down) to mimic the motion of a bird flying. Since many of the birds have similar colours layered on top of each other, I added a shadow along the edges to visually separate them. This also created the illusion of cut-out pieces of paper being stuck together, similar to something school children might create themselves.

Call to action

Finalising Our Call to Action

One challenge we kept revisiting and refining was our call to action, as we struggled to summarise it in just one or two sentences. One idea we initially came up with was "Your colours make the world brighter”, but we found that this message wasn’t clear enough and didn’t necessarily relate to our subject. After receiving feedback, we continued discussing other call-to-action options and identified key points we wanted to cover: it needed to be simple and easy for children to understand, focus on inclusivity rather than "colours”, and tie back to the overall moral and theme of our animation (belonging, self-identity, and inclusion).

Screenshot from After Effects
Screenshot from one of my scenes in After Effects
Screenshot from Premiere Pro
Screenshot from our final animation in Premiere Pro

Animating in After Effects & Premiere Pro

When it came to animating in After Effects, we divided the scenes from the storyboard among ourselves, ensuring that each person had roughly the same amount of work (my scenes are highlighted on the coloured storyboard and shown in the video below). We aimed to divide the scenes in a way that made the transitions between each person's work as seamless as possible. For most of my scenes, I created them in separate After Effects files so that when it was time to compile everything in Premiere Pro, they could be easily cut down or edited as needed.

When putting our final animation together in Premiere Pro, Julia and I took the lead on assembling everyone's individual scenes. Since Julia had most of the sound files, she handled syncing the audio with the visuals while I focused on finalising everything, checking the cuts, adjusting the sound, and adding any missing elements.

What Were People's Overall Reactions to Our Animation?

Feedback from crits
Feedback from our crits

The Impact

Feedback

Throughout this project, we had three critique sessions where we presented a summary of our process, leading up to our final outcome, which was showcased in our last presentation. During these lessons, we received constructive feedback that helped us further develop and refine our idea. Although we were a team of four, this feedback was extremely valuable, as it provided different perspectives that we might not have considered. In addition to feedback from our tutors during the presentations, we also received input from Ben, who assisted us with any issues we encountered in After Effects and showed a genuine interest in our project. We also gained valuable insights from Tim Varlow, a moving image designer and director. 

Final Outcome

Reflection

On reflection, I thoroughly enjoyed all aspects of the motion design process. When this unit began, I was excited, as it was a refreshing change from my recent static and less immersive work. However, initially I found this brief daunting, as storytelling and generating ideas can be the most challenging aspects of a project, making or breaking the message.

Team working proved highly beneficial, allowing us to bounce ideas off each other. Initially, we were protective of our individual storyboards but sharing them helped us recognise each other’s strengths and combine elements we liked. Our most effective method involved Julia sketching the storyboard order as we envisioned ideas for each scene, from camera movements to backgrounds and characters. I then created a more detailed, coloured storyboard, as we identified this as one of my strengths.

I believe our video was well-executed and connected effectively with both our primary and secondary audiences. Its simplicity makes it easy to follow, universally understandable, and visually appealing. Additionally, we offered a unique take on a traditional children’s story theme by linking it to Anti-Bullying Week and incorporating the Wonder Company, which fosters creativity in young minds.

If time had allowed, I would have liked to experiment further, exploring different backgrounds to enhance the storyline, adding moving textures for visual interest, or refining character movements to give them more personality. A voiceover could have also enriched the storytelling experience.

Overall, this project has shown me the benefits of teamwork and equipped me with the tools and confidence to push my After Effects skills further. Moving forward, I am eager to build on my abilities and continue developing my creative ideas.

anti-bullyingalliance.org.uk. (n.d.). Anti-Bullying Alliance. [online] Available at: https://anti-bullyingalliance.org.uk/.

BulliesOut. (n.d.). BulliesOut - Anti-Bullying Training, Awareness and Support. [online] Available at: https://bulliesout.com/.

CBBC (2015). Bullied About My Hair. [online] CBBC. Available at: https://www.bbc.co.uk/cbbc/watch/anti-bullying-laras-story.

Childline.org.uk. (2019). Building confidence and self-esteem | Childline. [online] Available at: https://www.childline.org.uk/info-advice/your-feelings/feelings-emotions/building-confidence-self-esteem/.

Childline.org.uk. (2025). Helping a friend | Childline. [online] Available at: https://www.childline.org.uk/info-advice/friends-relationships-sex/friends/helping-friend/ [Accessed 12 Mar. 2025].

cuvner (2025). GitHub - cuvner/gen-av: A workshop with code to build gen audio and visual designs, using p5js, strudel or python audio. [online] GitHub. Available at: https://github.com/cuvner/gen-av [Accessed 12 Mar. 2025].

EIF Guidebook. (2019). Olweus Bullying Prevention Programme. [online] Available at: https://guidebook.eif.org.uk/programme/olweus-bullying-prevention-programme.

Frame.io. (2025). Login - Frame.io. [online] Available at: https://next.frame.io/project/8edfd6ee-1929-4bb1-96d2-eeb05ea2361b/view/534110d6-87c9-4f76-a8c9-b2d3b179edf3 [Accessed 12 Mar. 2025].

Kidscape (2019). Kidscape - Help With Bullying. [online] Kidscape.org.uk. Available at: https://www.kidscape.org.uk/.

Mind Neath Port Talbot. (n.d.). young-minds-logo. [online] Available at: https://nptmind.org.uk/young-minds-logo/.

miro.com. (2018). Miro | The Visual Workspace for Innovation. [online] Available at: https://miro.com/app/board/uXjVLqyWD4o=/ [Accessed 12 Mar. 2025].

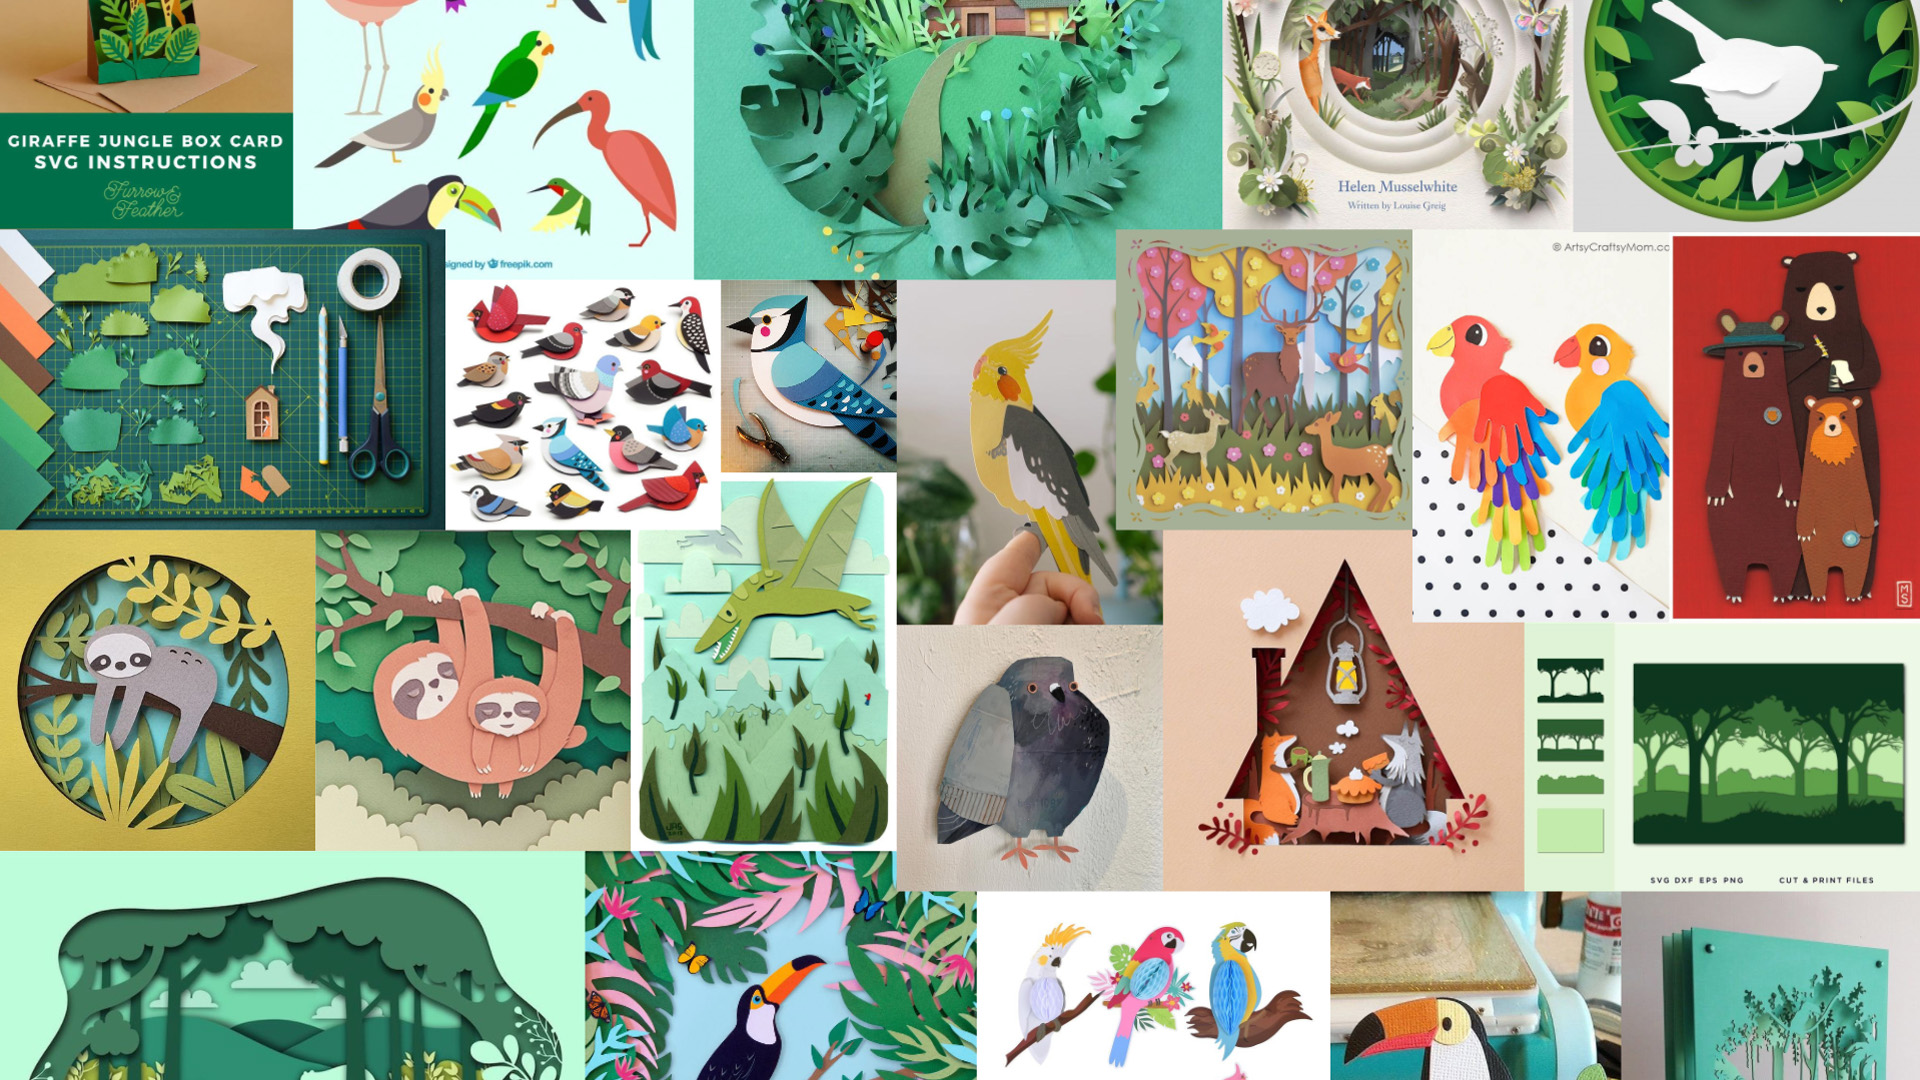
Pinterest (2024). Pinterest (United Kingdom). [online] Pinterest. Available at: https://www.pinterest.co.uk/.

TEDx Talks (2023). Standing Against Bullying: Start With 3 Simple Questions | Matt Purcell | TEDxYouth@MoriahCollege. YouTube. Available at: https://www.youtube.com/watch?v=zjqK6ZL-dSI [Accessed 13 Aug. 2023].

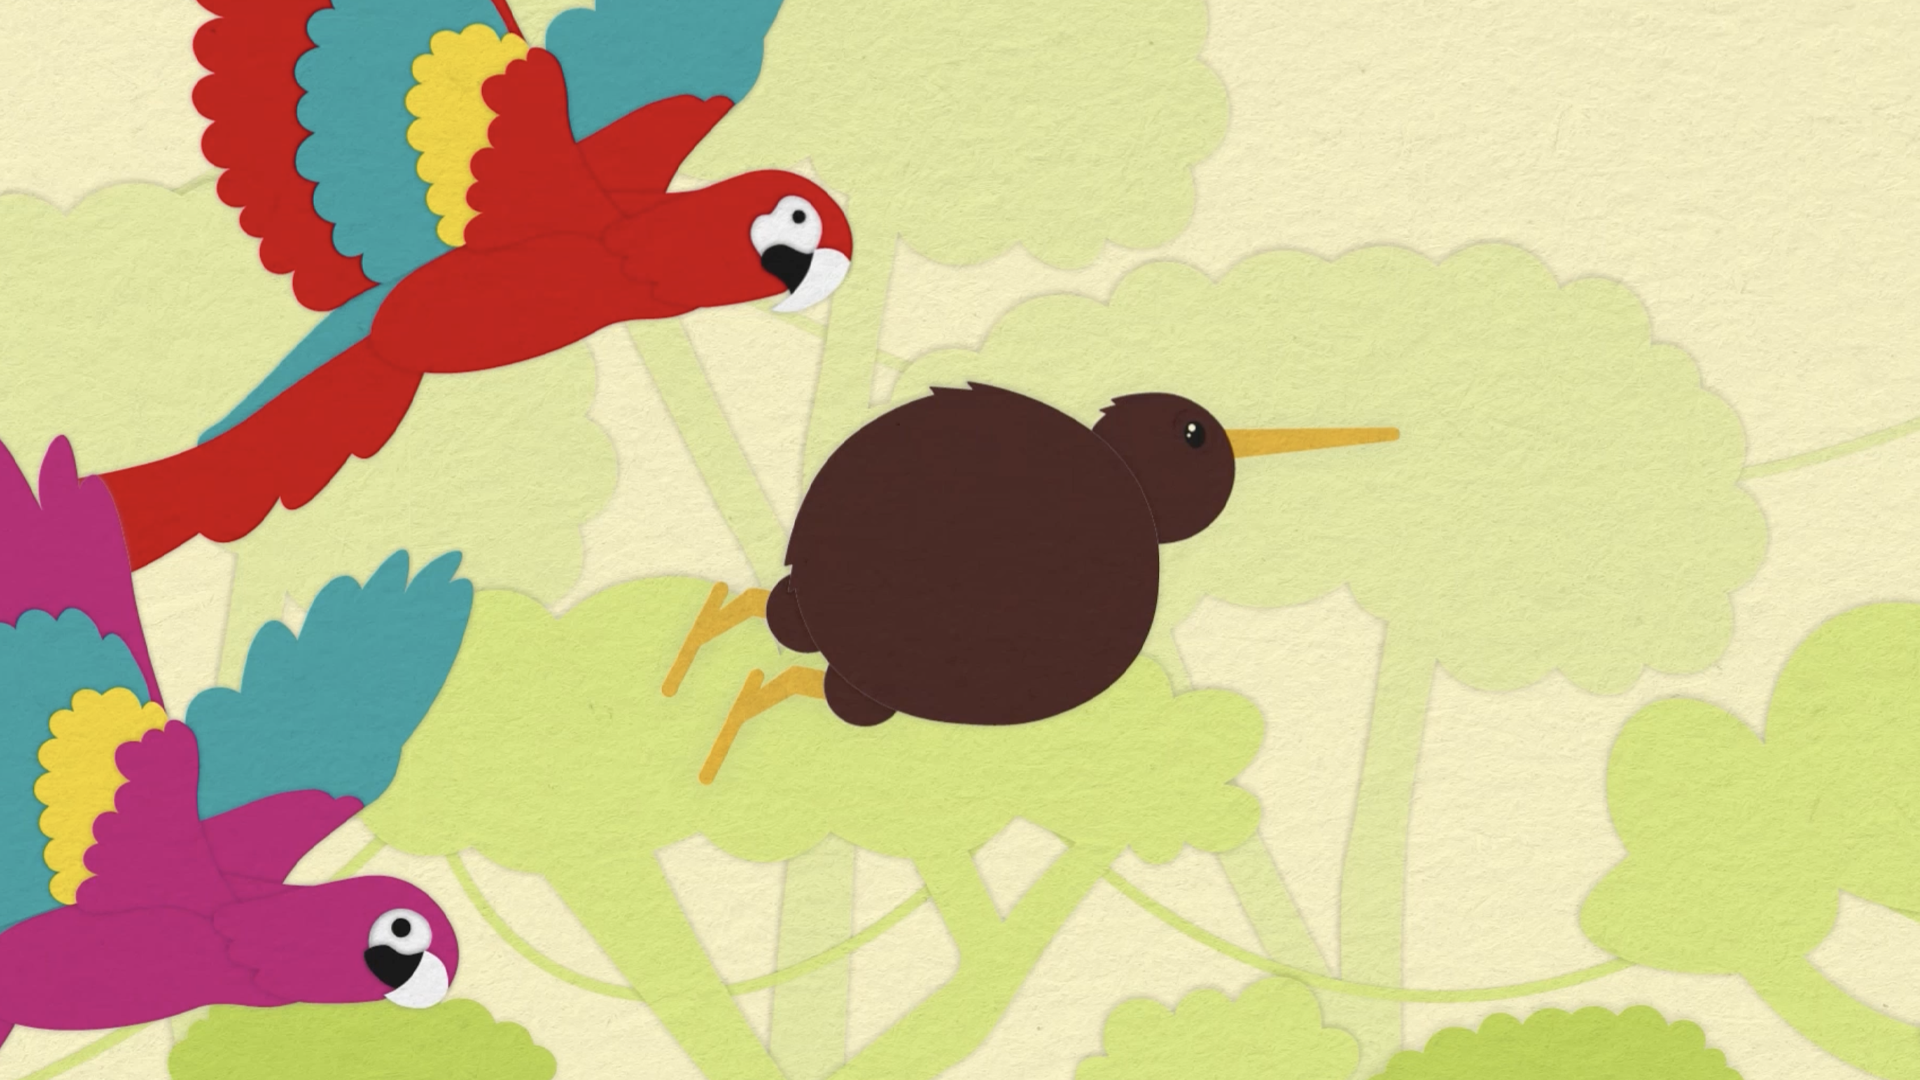
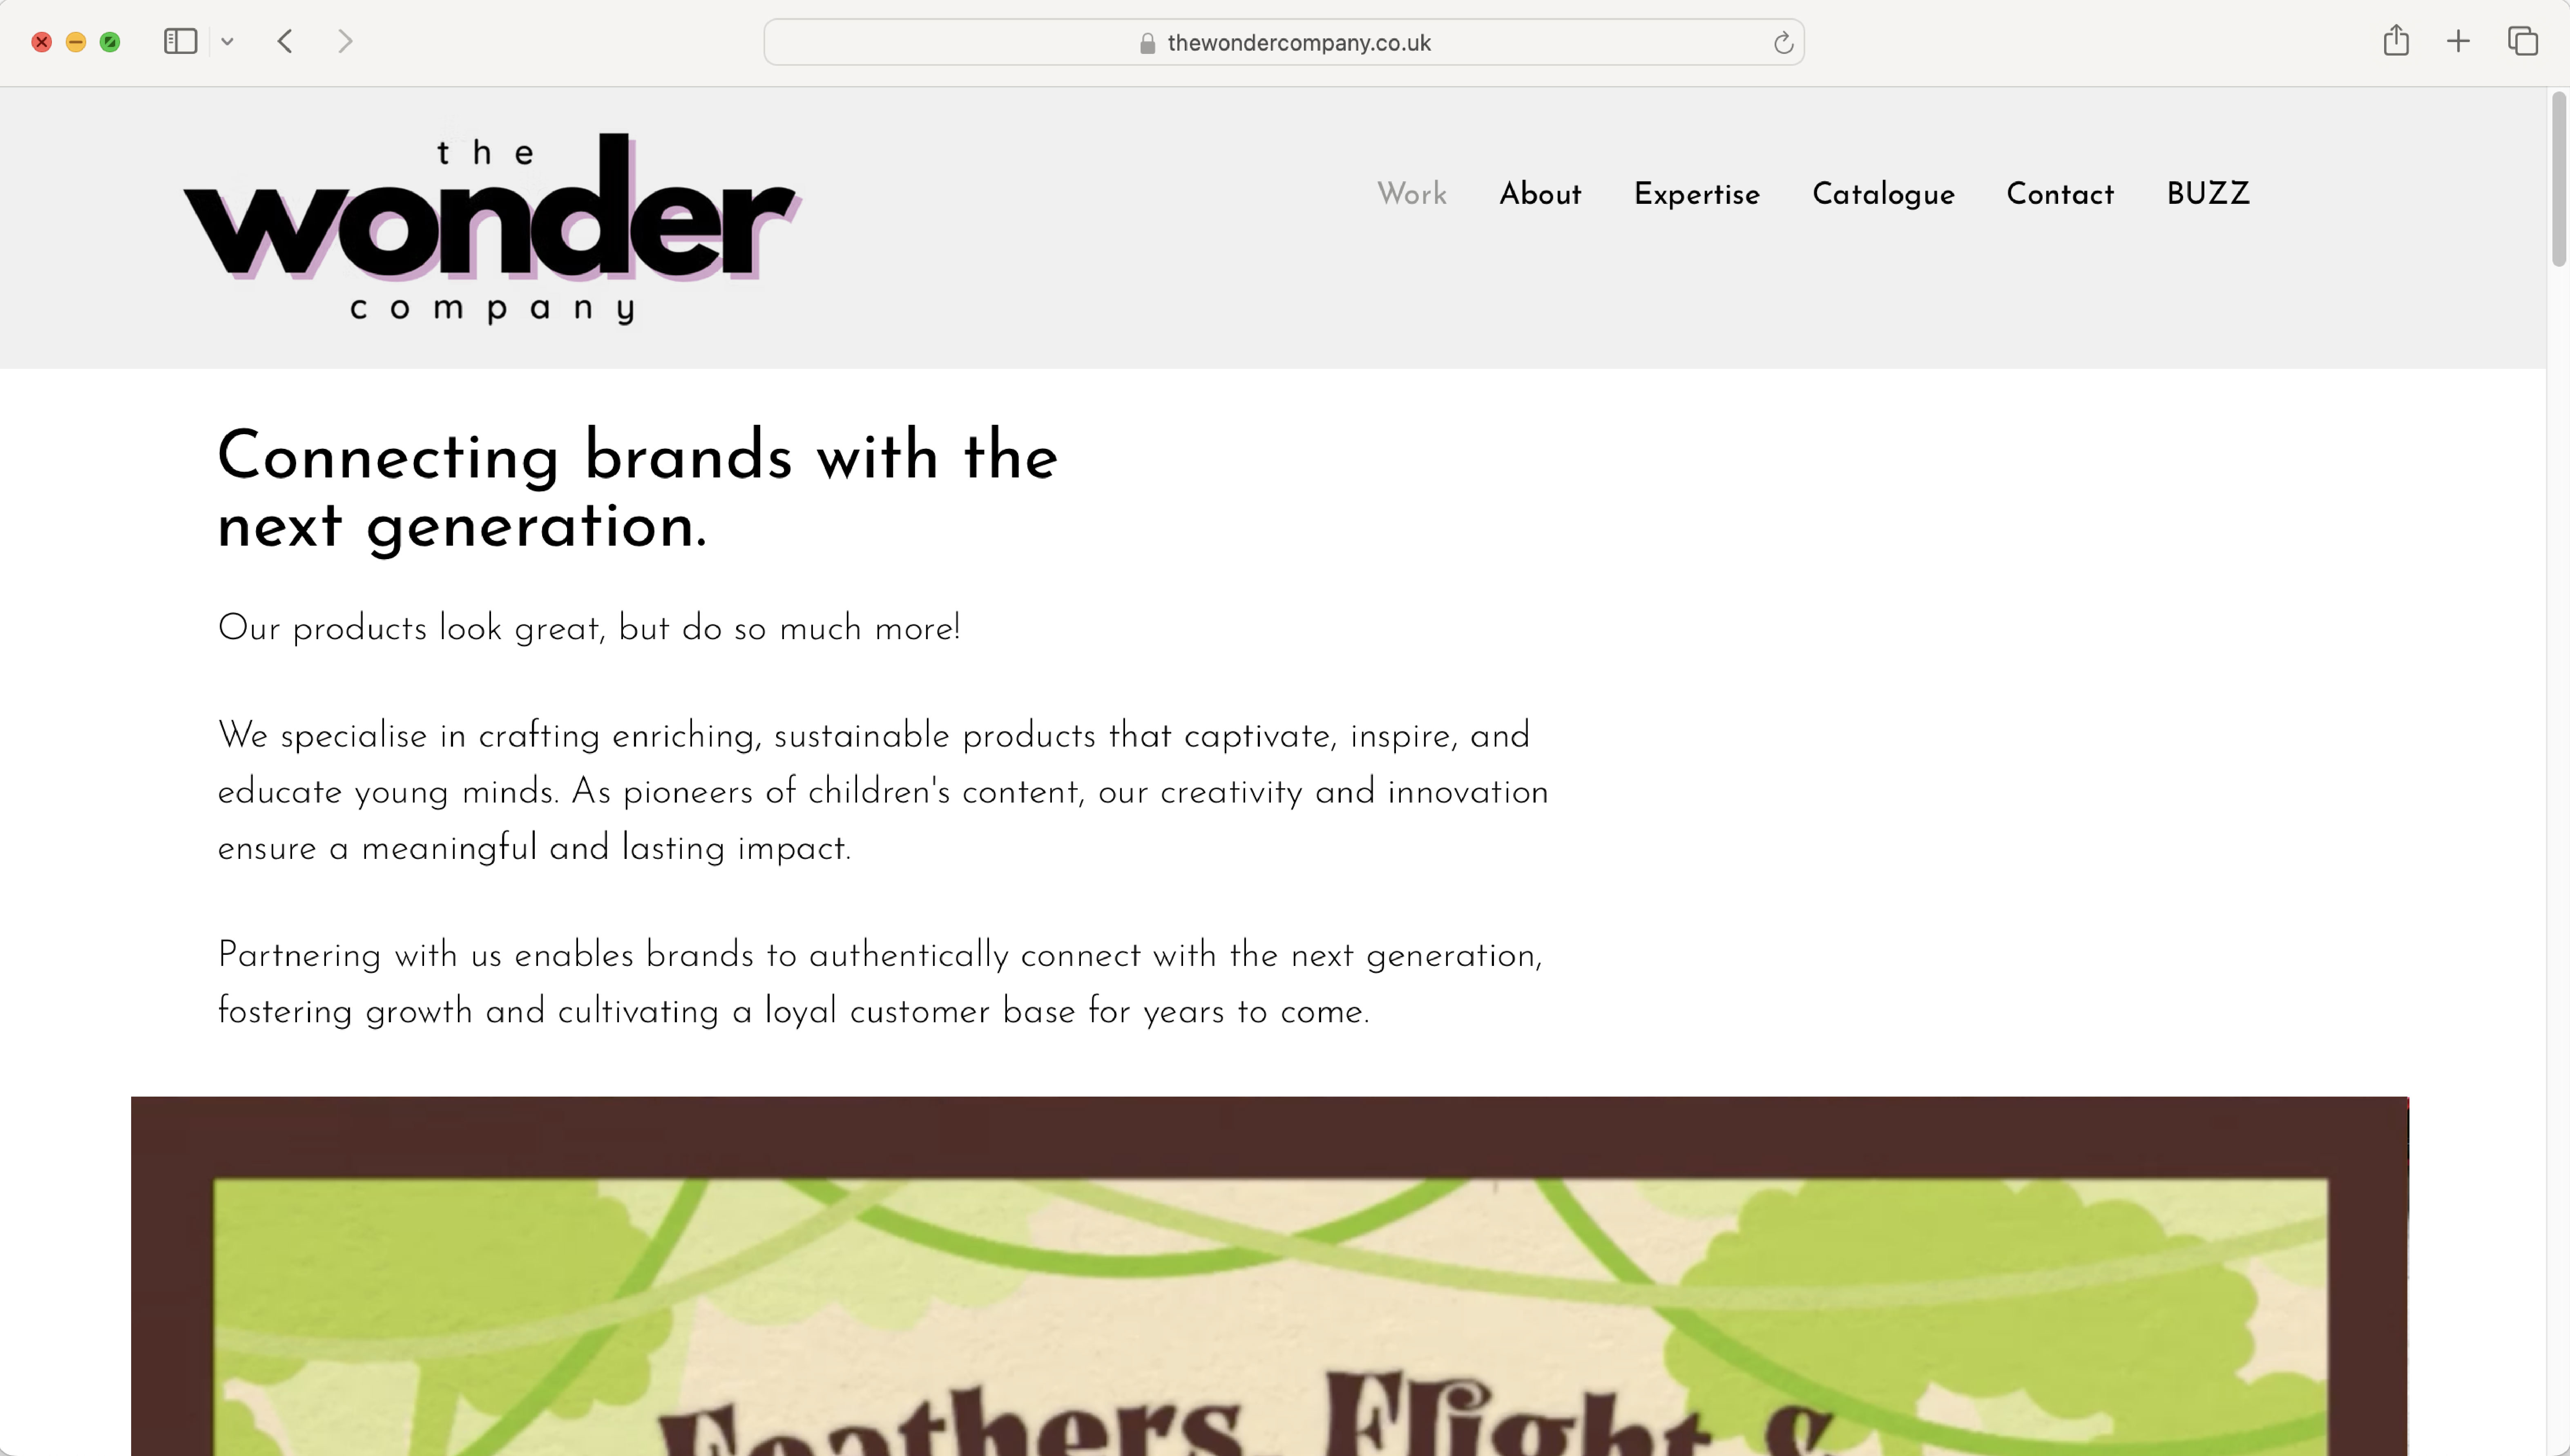
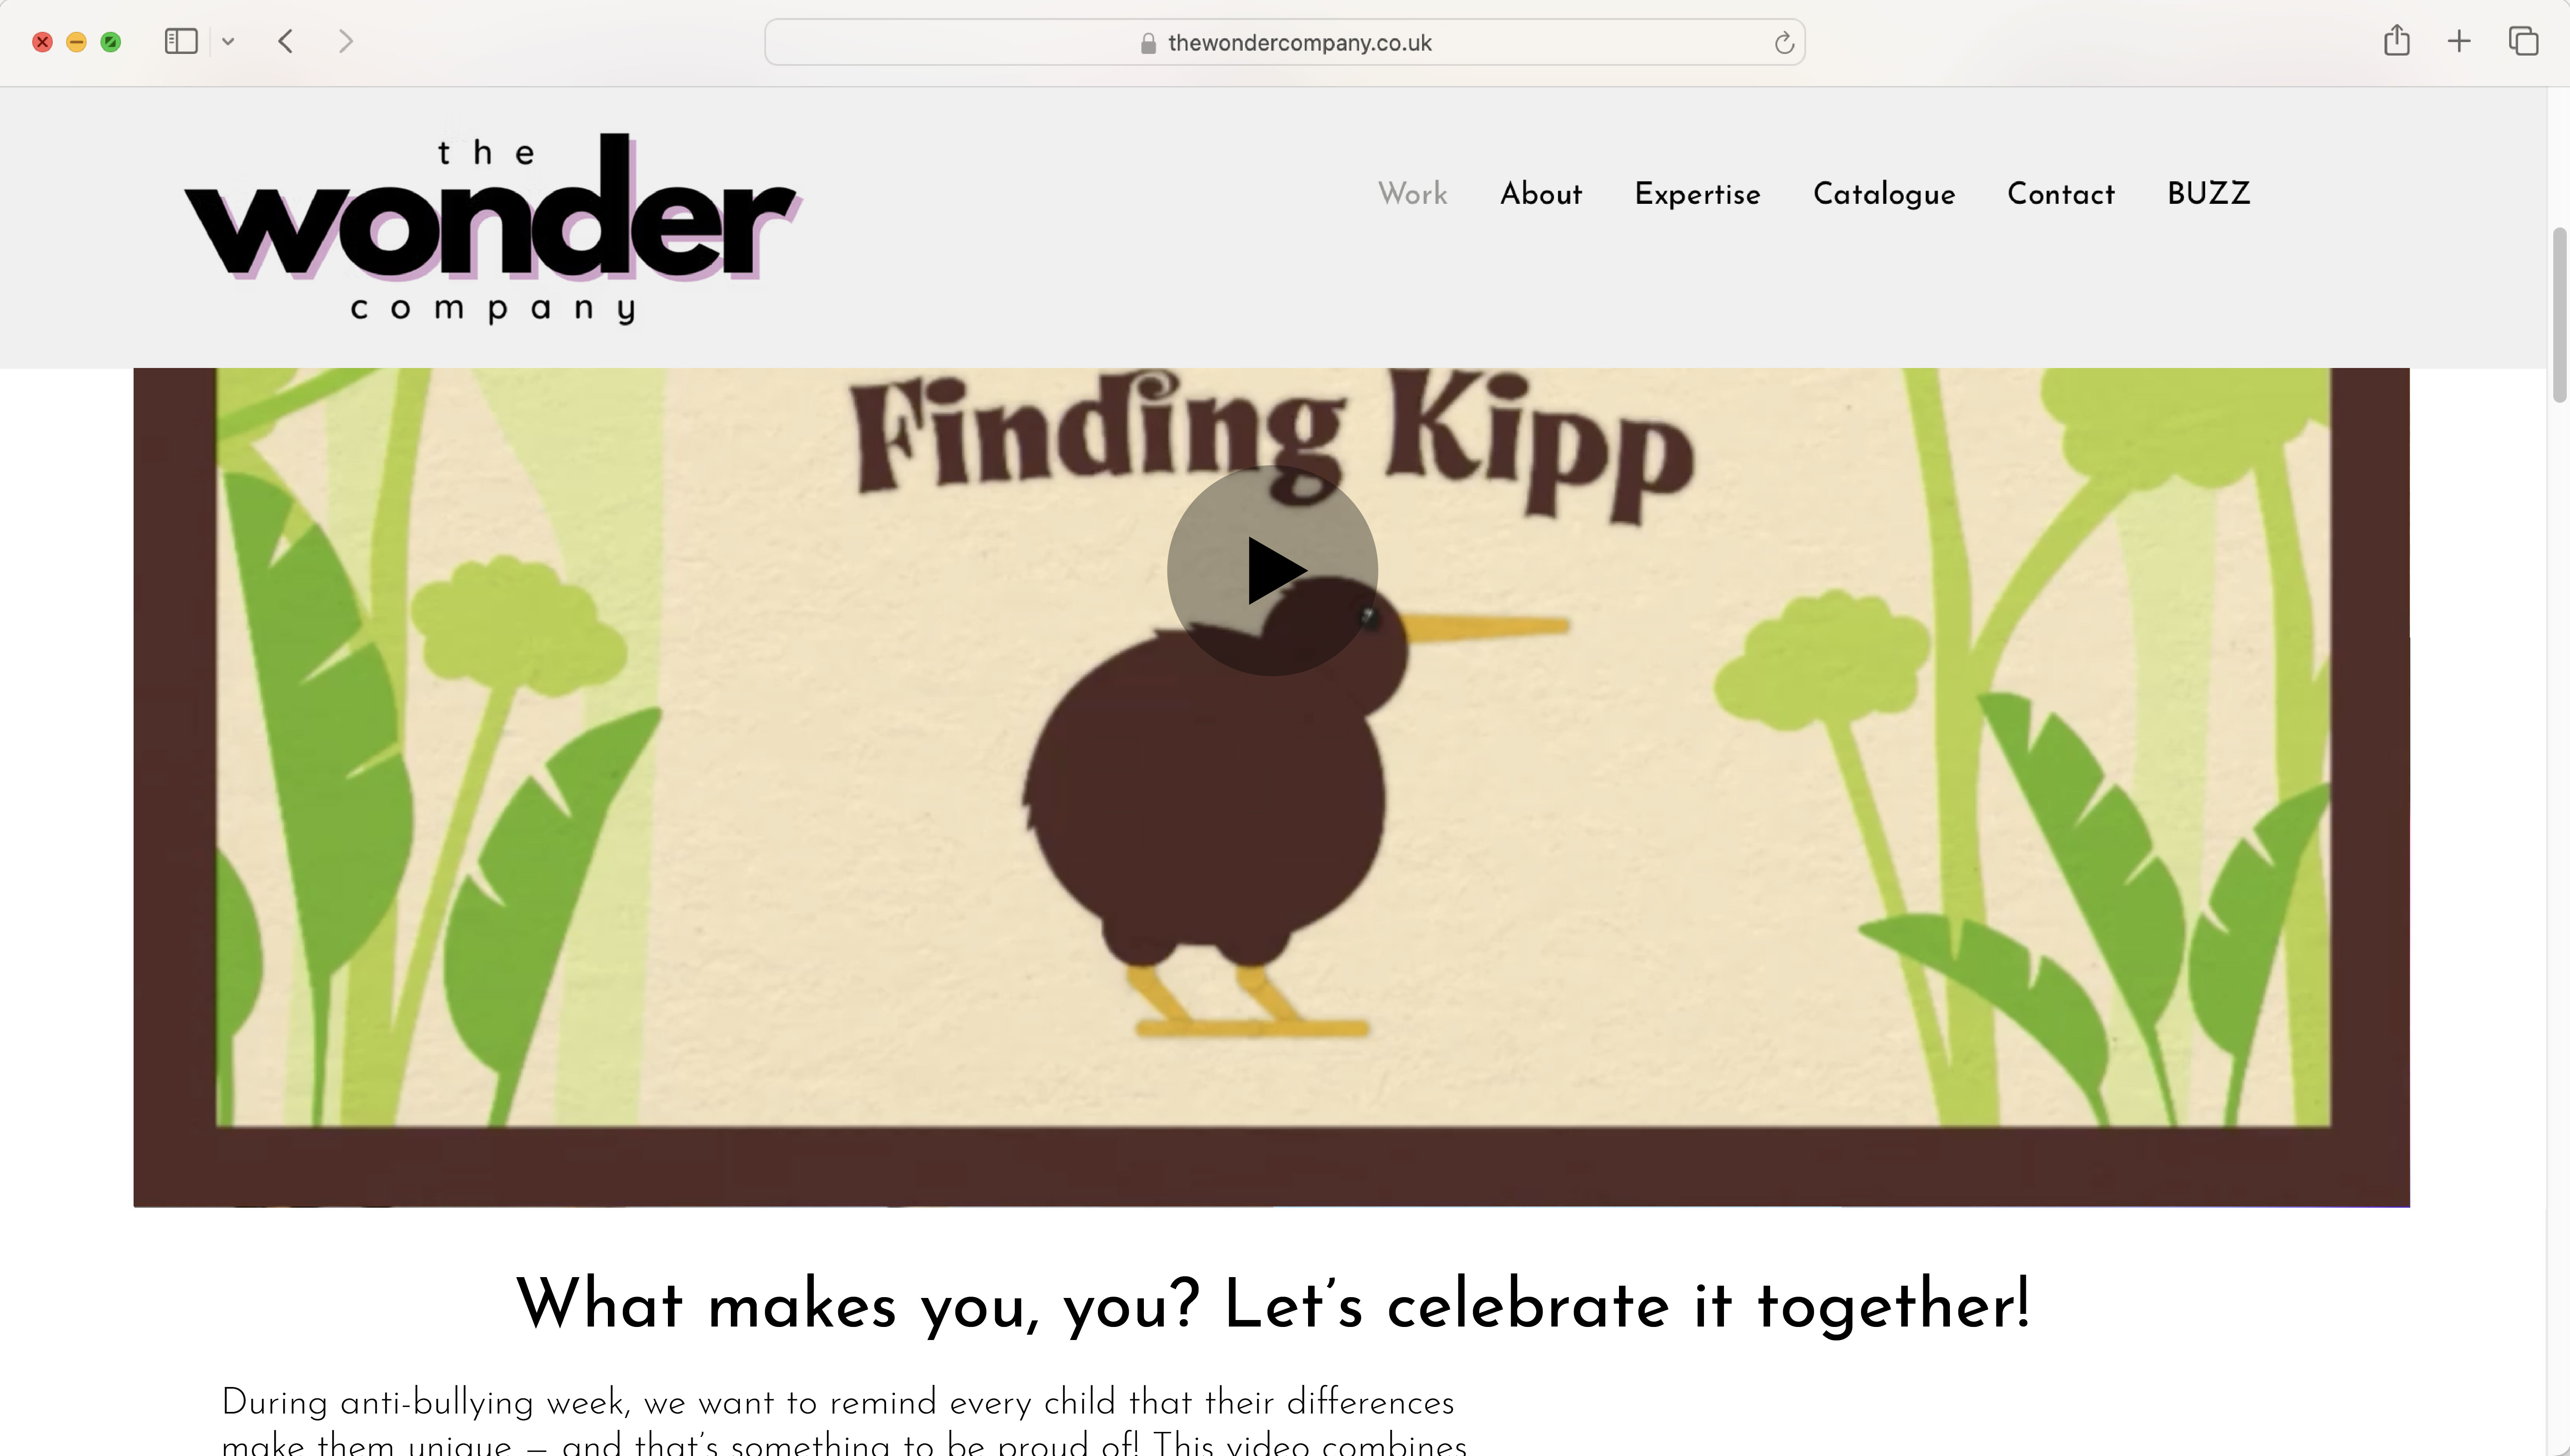
The Wonder Company. (2024). About | The Wonder Company. [online] Available at: https://www.thewondercompany.co.uk/about [Accessed 12 Mar. 2025].

www.youtube.com. (n.d.). Beat bullying; why young people hold the key | Alex Holmes | TEDxExeter. [online] Available at: https://www.youtube.com/watch?v=0N1oA9LUEc4.